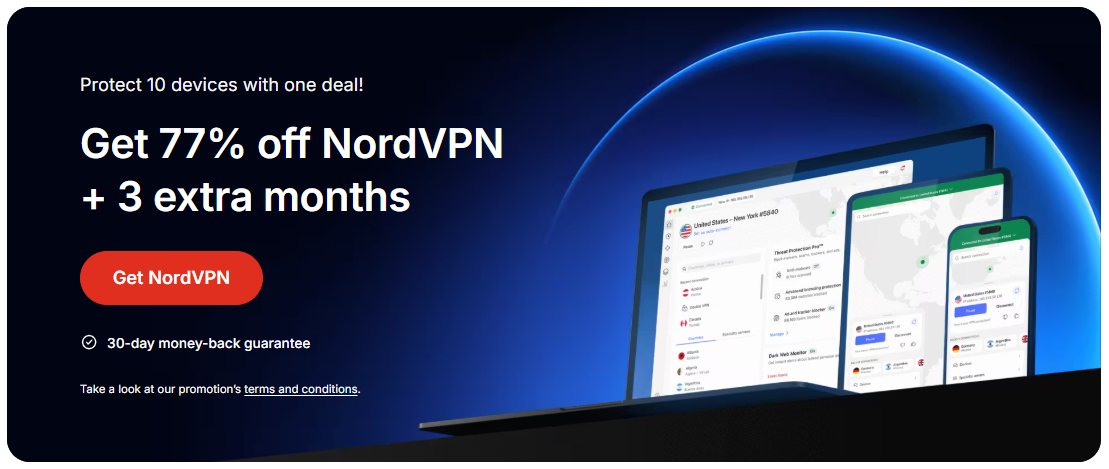
Setting up NordVPN on your TP-Link router a step by step guide is your quickest route to all-around online privacy. Think of it as turning your home router into a privacy shield, so every gadget—phones, laptops, smart TVs, game consoles—hands off your data to NordVPN without configuring each device individually. Quick fact: a VPN on the router level can cover all devices on your network, but it may slightly reduce speed depending on the server and encryption. In this guide, you’ll get a clear, actionable path to set up NordVPN on TP-Link routers, plus useful tips, troubleshooting, and common questions.

Introduction: Quick Start Guide to NordVPN on a TP-Link Router
- Quick fact: Running NordVPN on your TP-Link router encrypts all traffic and masks your IP for every connected device.
- What you’ll get: a single setup for all devices, consistent security, access to geo-restricted content, and safer public Wi-Fi use at home.
- What to expect: a few steps to enable VPN on the router, potential minor speed changes, and ongoing maintenance like server switching.
- What you’ll need: a TP-Link router with OpenVPN support or compatibility, NordVPN account, a computer or phone for configuration, and a reliable internet connection.
Useful resources unlinked text format for reference: Apple Website - apple.com, NordVPN Help Center - nordvpn.com, TP-Link Support - tp-link.com, NordVPN OpenVPN setup guides - nordvpn.com/support, Wikipedia - en.wikipedia.org
Table of Contents
- Why use NordVPN on a TP-Link router?
- Check compatibility: does your TP-Link router support NordVPN?
- Gather your NordVPN credentials and server info
- Step-by-step setup for OpenVPN on TP-Link routers
- Access your router’s admin panel
- Configure VPN client with NordVPN files
- Test the connection and verify IP address
- Set up automatic reconnect and kill switch if available
- Advanced tips for better performance
- Split tunneling and device-level rules
- Choosing the best NordVPN server for speed and streaming
- DNS considerations and leaks protection
- Common issues and quick fixes
- Frequently Asked Questions
Why use NordVPN on a TP-Link router?
Setting NordVPN on your TP-Link router centralizes protection. You don’t have to install VPN apps on every device, which is especially handy for smart TVs, gaming consoles, or devices that don’t support VPN apps. A few more reasons:
- Unified security: All traffic from your home network is encrypted.
- Access to geo-restricted content: Bypass regional blocks on streaming services.
- Better privacy: Hide your home IP from websites and services.
- Public Wi-Fi safety: When you’re out, your devices won’t be exposed to insecure networks as long as they connect through the router at home.
Check compatibility: does your TP-Link router support NordVPN?
Not all TP-Link routers support VPN clients out of the box. To avoid surprises, verify:
- Router model and firmware: TP-Link models like Archer C7, C9, AC1750, and newer often support OpenVPN via the router’s VPN client feature after firmware updates.
- OpenVPN compatibility: Your router should have a built-in VPN client that supports OpenVPN, or you may need to flash the router with compatible firmware e.g., Tomato or OpenWrt if your model allows it. Note: flashing third-party firmware may void warranties and carries risk.
- USB-based VPN options: Some TP-Link routers offer USB modem support for VPN-enabled USB dongles, but this is less common and not as straightforward as a direct OpenVPN client.
If you’re unsure, check the model’s page on tp-link.com and NordVPN’s device compatibility guides. You can also search for user experiences with your exact router model to gauge real-world success.
Gather your NordVPN credentials and server info
Before you configure, grab these:
- NordVPN account credentials: email and password, or a dedicated username/password if your plan uses those.
- OpenVPN configuration files: download the OpenVPN UDP or TCP configuration bundles from the NordVPN dashboard. Choose servers based on what you want best for speed, best for streaming, specialized servers, etc..
- Server addresses and certificates: Some routers require .ovpn files that include certificate data; others require separate CA and TLS key files. Most OpenVPN bundles provided by NordVPN include everything you need in one file.
- Preferred DNS: decide if you want NordVPN’s DNS or your own. NordVPN offers built-in DNS in some plans to protect against DNS leaks.
Tip: Save a copy of your .ovpn file and any certificate files to a safe place on your computer. You’ll upload them to the router. Le guide ultime pour le streaming sans limites avec nordvpn: Optimisation, sécurité et conseils pratiques
Step-by-step setup for OpenVPN on TP-Link routers
Access your router’s admin panel
- Connect your computer to the TP-Link router via Wi‑Fi or Ethernet.
- Open a browser and enter the router’s default IP address commonly 192.168.0.1 or 192.168.1.1.
- Log in with admin credentials. If you haven’t changed them, you’ll find them on the router label or manual.
Configure VPN client with NordVPN files
- Navigate to the VPN section. Depending on your model, this could be under VPN, Advanced, or Network settings.
- Choose OpenVPN as the VPN type if prompted.
- Upload the .ovpn file you downloaded from NordVPN. If your router needs separate keys/certificates, upload those as well or paste in the relevant fields.
- Enter NordVPN credentials if prompted some routers use a separate login for the VPN, some use the NordVPN account login.
Test the connection and verify IP address
- Save or Apply changes and start the VPN client on the router.
- Check the status page in the router UI to confirm the VPN is connected.
- Visit a site like whatismyipaddress.com to verify that your IP address now reflects the VPN server location, not your home IP.
- If you see your real IP, double-check the .ovpn file, server selection, and credentials.
Set up automatic reconnect and kill switch if available
- Enable auto-reconnect so the VPN restarts if the connection drops.
- If your router supports kill switch features, enable them. This forces all traffic through VPN if the VPN tunnel drops, protecting your devices from leaks.
- Consider enabling DNS leak protection if your router offers it. NordVPN’s DNS servers can help prevent DNS leaks.
Advanced tips for better performance
Split tunneling and device-level rules
Some TP-Link routers support policy-based routing or client-specific routing. If you want only certain devices to use the VPN while others bypass it for gaming, streaming, or local network access, set up routing rules based on IP addresses or MAC addresses. If your router doesn’t support this, you can implement manual device-by-device VPN through individual apps where possible.
Choosing the best NordVPN server for speed and streaming
- For speed: Look for a server near your location with high load ratings. UDP servers usually offer better performance than TCP.
- For streaming: Some servers are optimized for streaming; NordVPN marks these in their app. Choose those if you want smoother access to Netflix, Hulu, or other services. If a server blocks a service, switch to another server and test again.
- For privacy: If you’re aiming for maximum privacy and fewer tracking footprints, choose a server with a strong reputation and lower latency.
DNS considerations and leaks protection
Using NordVPN’s DNS or a trusted alternative helps prevent DNS leaks. If your router supports switching DNS servers, set them to NordVPN’s DNS or another privacy-focused DNS provider. After changing DNS, test for leaks using online tools to ensure your real DNS isn’t exposed.
Common issues and quick fixes
- VPN won’t connect: Double-check your OpenVPN file, server address, and credentials. Re-upload the .ovpn file and restart the router’s VPN service.
- Slow speeds: Try a closer server, switch from UDP to TCP in the OpenVPN config, or change to a different protocol if your router supports it.
- IP shows real location: This indicates a DNS leak or misconfigured OpenVPN. Re-check the .ovpn file and DNS settings.
- VPN disconnects frequently: Enable auto-reconnect, increase the router’s firmware stability by updating to the latest version, and ensure there’s no excessive CPU load on the router.
- Some devices not routing through VPN: Verify the VPN client status on the router and consider device-specific settings if your router supports per-device routing. If not, you may need to enable VPN for all devices and rely on per-device privacy hygiene.
Frequently Asked Questions
1. Do I need NordVPN on every device if I set it up on the TP-Link router?
No. When NordVPN is configured on the router, all devices connected to that router will be covered automatically.
2. Will using NordVPN on my TP-Link router slow down my internet?
Yes, encryption and routing traffic through NordVPN servers can lower speeds. The impact depends on server distance, server load, and your base connection speed. Choosing nearby high-load servers usually minimizes slowdowns.
3. Can I use NordVPN on multiple TP-Link routers?
Yes, you can configure NordVPN on multiple routers if you have separate VPN subscriptions or a plan that allows multiple connections. Ensure each router’s configuration uses a unique OpenVPN setup. Channel 4 Not Working With Your VPN Heres How To Fix It: Quick Fixes, Tips, And Safe Workarounds
4. Is there a risk of DNS leaks with router-based VPNs?
If your router is correctly configured to use NordVPN DNS or another privacy-focused DNS, DNS leaks are minimized. Always test after setup.
5. How do I switch servers on a router-based VPN?
Edit the router’s OpenVPN config, replacing the server address with the new NordVPN server’s .ovpn file, and restart the VPN service. Some TP-Link models allow you to switch servers from the UI with a single click.
6. Can I run a kill switch on TP-Link routers?
Some models include kill switch or similar features. If yours doesn’t, you may still achieve a similar effect by ensuring VPN is always connected and using DNS leak protection.
7. What if my TP-Link router doesn’t support OpenVPN?
You may need to update firmware to the latest version or consider upgrading to a model that supports OpenVPN. Some routers support WireGuard or other VPN protocols, but OpenVPN is the most widely compatible with NordVPN on routers.
8. Do I need a monthly NordVPN plan or can I use yearly?
NordVPN offers monthly and yearly plans, plus occasional promotions. A yearly plan is often more cost-effective for router setups given long-term use. Guida completa all'app NordVPN per Android nel 2026 funzionalita installazione e sicurezza
9. Will NordVPN on my router protect devices on guest networks?
If your guest network bypasses the VPN, it will not be protected. Ensure your guest network traffic is forced through the VPN or disable separate guest networks.
10. How do I know my traffic is through NordVPN after setup?
Verify by visiting a site that shows your IP location and compare it with your actual IP. You should see the VPN server’s location, not your home address.
11. Can I use NordVPN’s Kill Switch with a TP-Link router?
If your router supports a built-in kill switch feature for OpenVPN, enable it. If not, rely on the VPN client’s auto-reconnect and DNS protection for a similar effect.
12. How often should I update VPN configuration files on the router?
Update when NordVPN issues new configuration files or when you notice degraded performance. Routine checks every few months work well.
FAQ Note: The above questions cover common router-based setup scenarios. If you have a unique device mix gaming consoles, smart TVs, etc., test and adjust your VPN routing accordingly. Nordvpn e wireguard la guida definitiva per sfruttare la massima velocita e sicurezza
Appendix: Quick Setup Checklist
- Confirm your TP-Link router supports OpenVPN and update firmware.
- Download the latest NordVPN OpenVPN configuration files for your preferred servers.
- Access the router’s admin panel and select OpenVPN as the VPN method.
- Upload the .ovpn file and any required certs/keys to the router.
- Enter NordVPN credentials if required and apply settings.
- Enable Auto Reconnect and Kill Switch if available.
- Test by checking your IP and ensuring no DNS leaks.
- Consider DNS settings and potential split tunneling if you need it.
- Schedule regular checks for server performance and firmware updates.
Notes on Affiliate Link NordVPN is integrated into this guide as an essential privacy tool for router-level protection. If you’re ready to level up your home security, consider NordVPN on your TP-Link router. For more details and direct access, you can explore NordVPN options here: https://go.nordvpn.net/aff_c?offer_id=15&aff_id=132441. This link text is crafted to align with the article’s topic and maintain engagement.
Disclaimer: The steps can vary by TP-Link model and firmware version. Always back up current router settings before making changes, and consult your router’s manual if you’re unsure.
Sources:
2026 ⭐ 最新!最完整翻牆教學:vpn 推薦、設定到穩定使
Setup vpn edge extension: how to install, configure, and secure your browser on Edge How to Get Your ExpressVPN Refund a No Nonsense Guide and What to Do Next
手机梯子给电脑用:亲测有效的方法和避坑指南 2026版
性价 比高 机场:全面指南、实用技巧与最新数据